Download, Setup & Install Python on macOS [Updated - 2022]

Installing or updating Python on your MacOS is the first step to becoming a Python developer. You can get started with setup and installation: download official Python distributions from Python.org, install from a package manager(Anaconda), and even install specialized distributions for scientific computing, the Internet of Things, and embedded systems.
Check if you already have Python installed
You might ask, How to Check Your Python Version on MacOS?
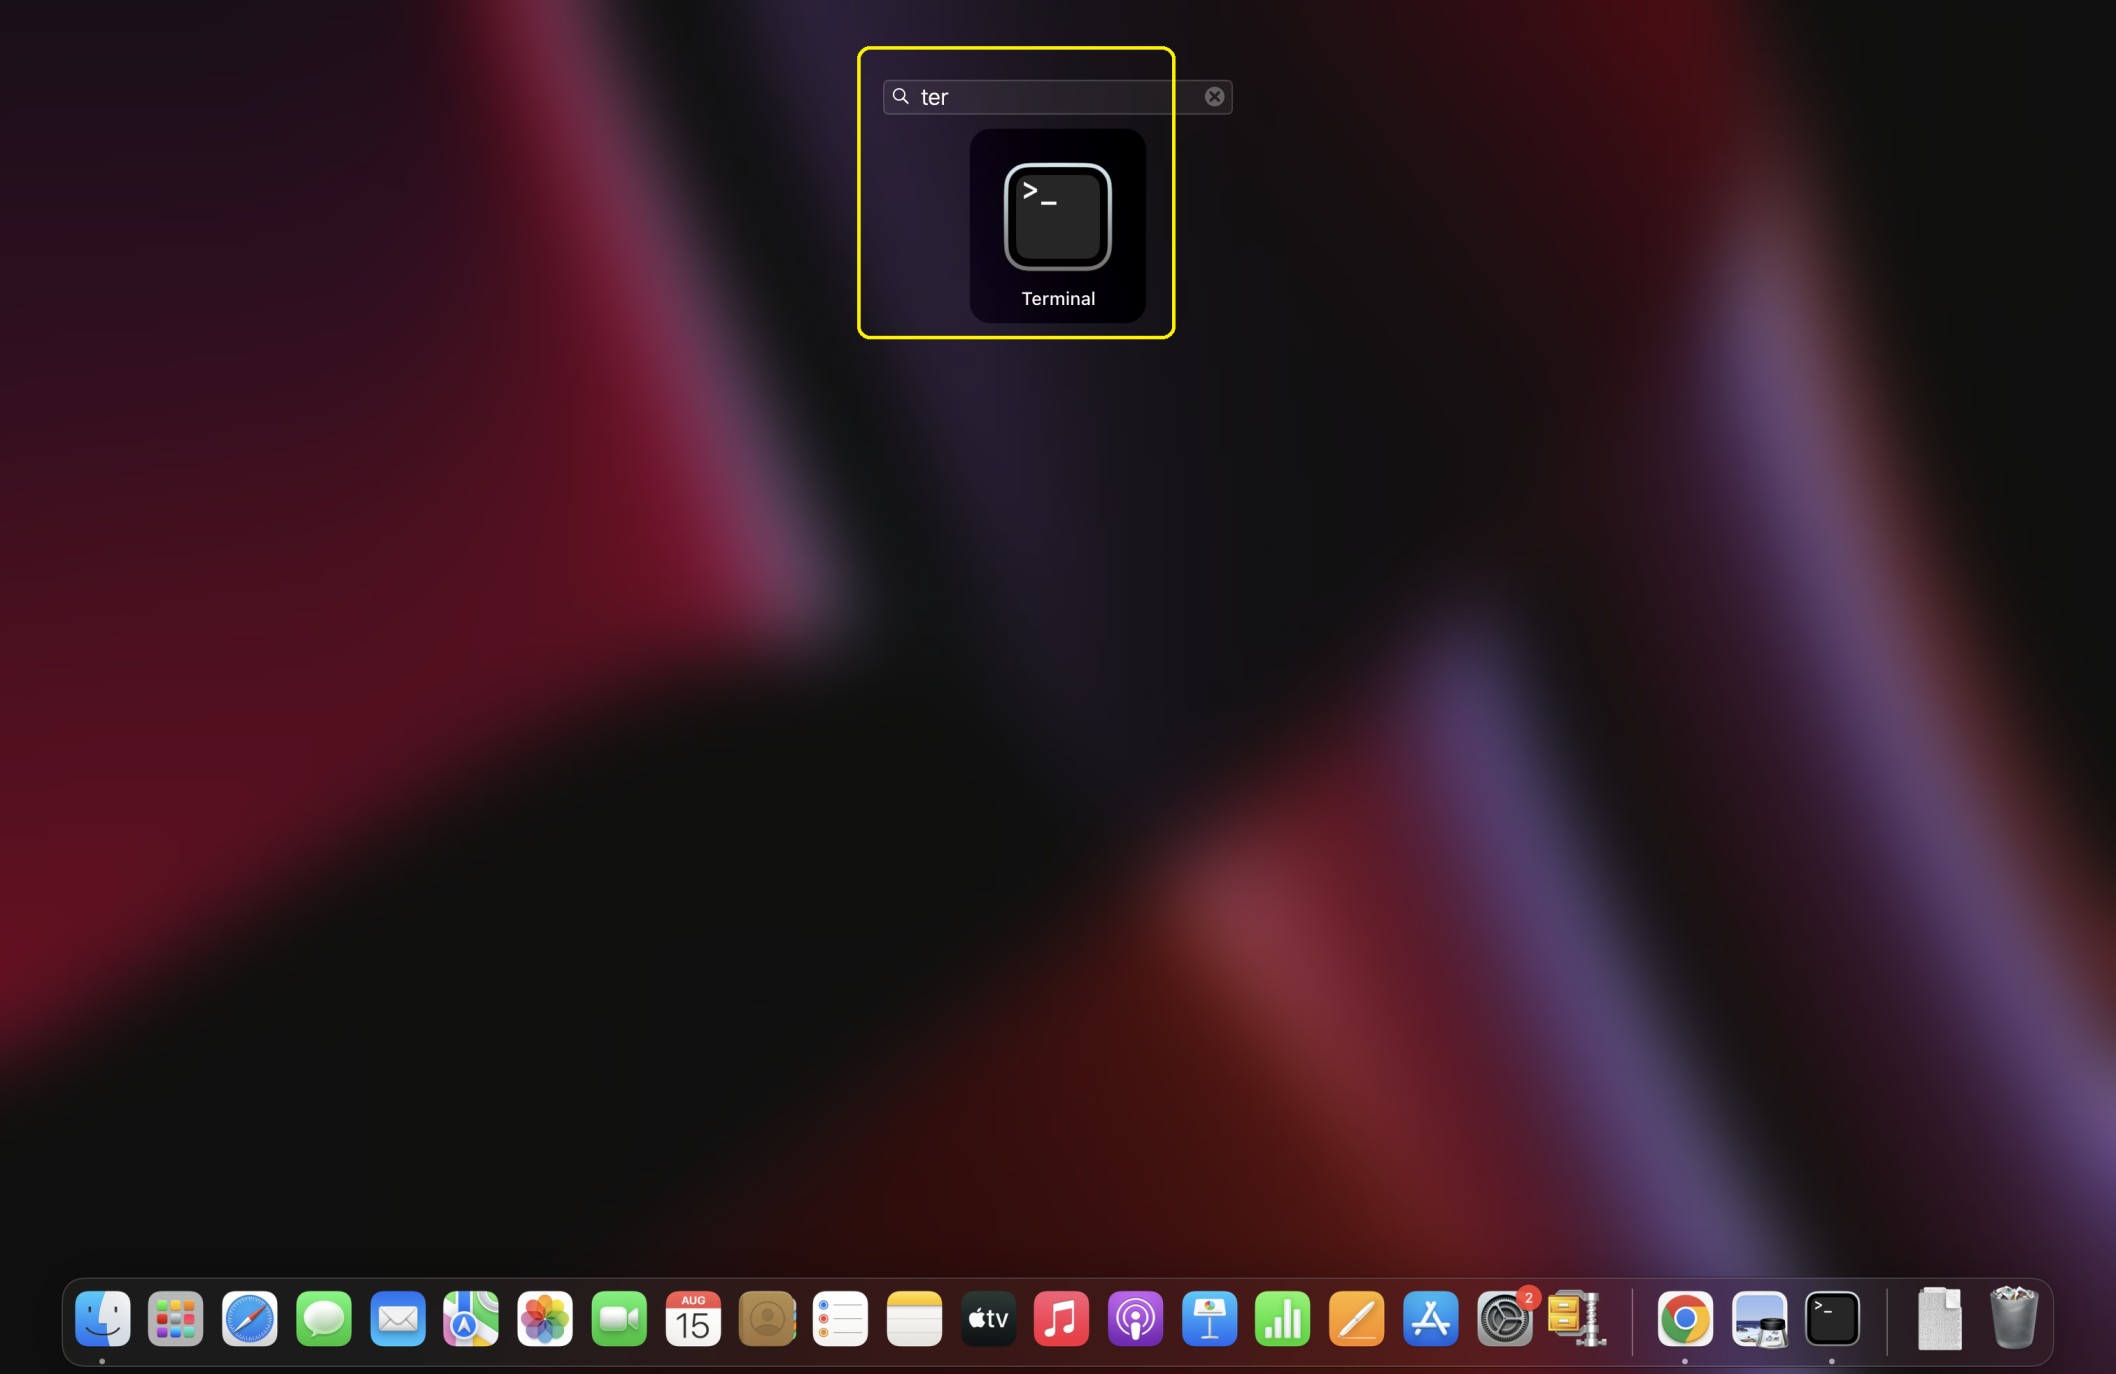
You can check from Terminal, as shown in the picture below.
Once the Terminal is opened, Type python -V OR python –version (Make Sure to keep V in uppercase)
If you know that you have Python version 3 installed, then you can also type python3 -V OR python3 –version
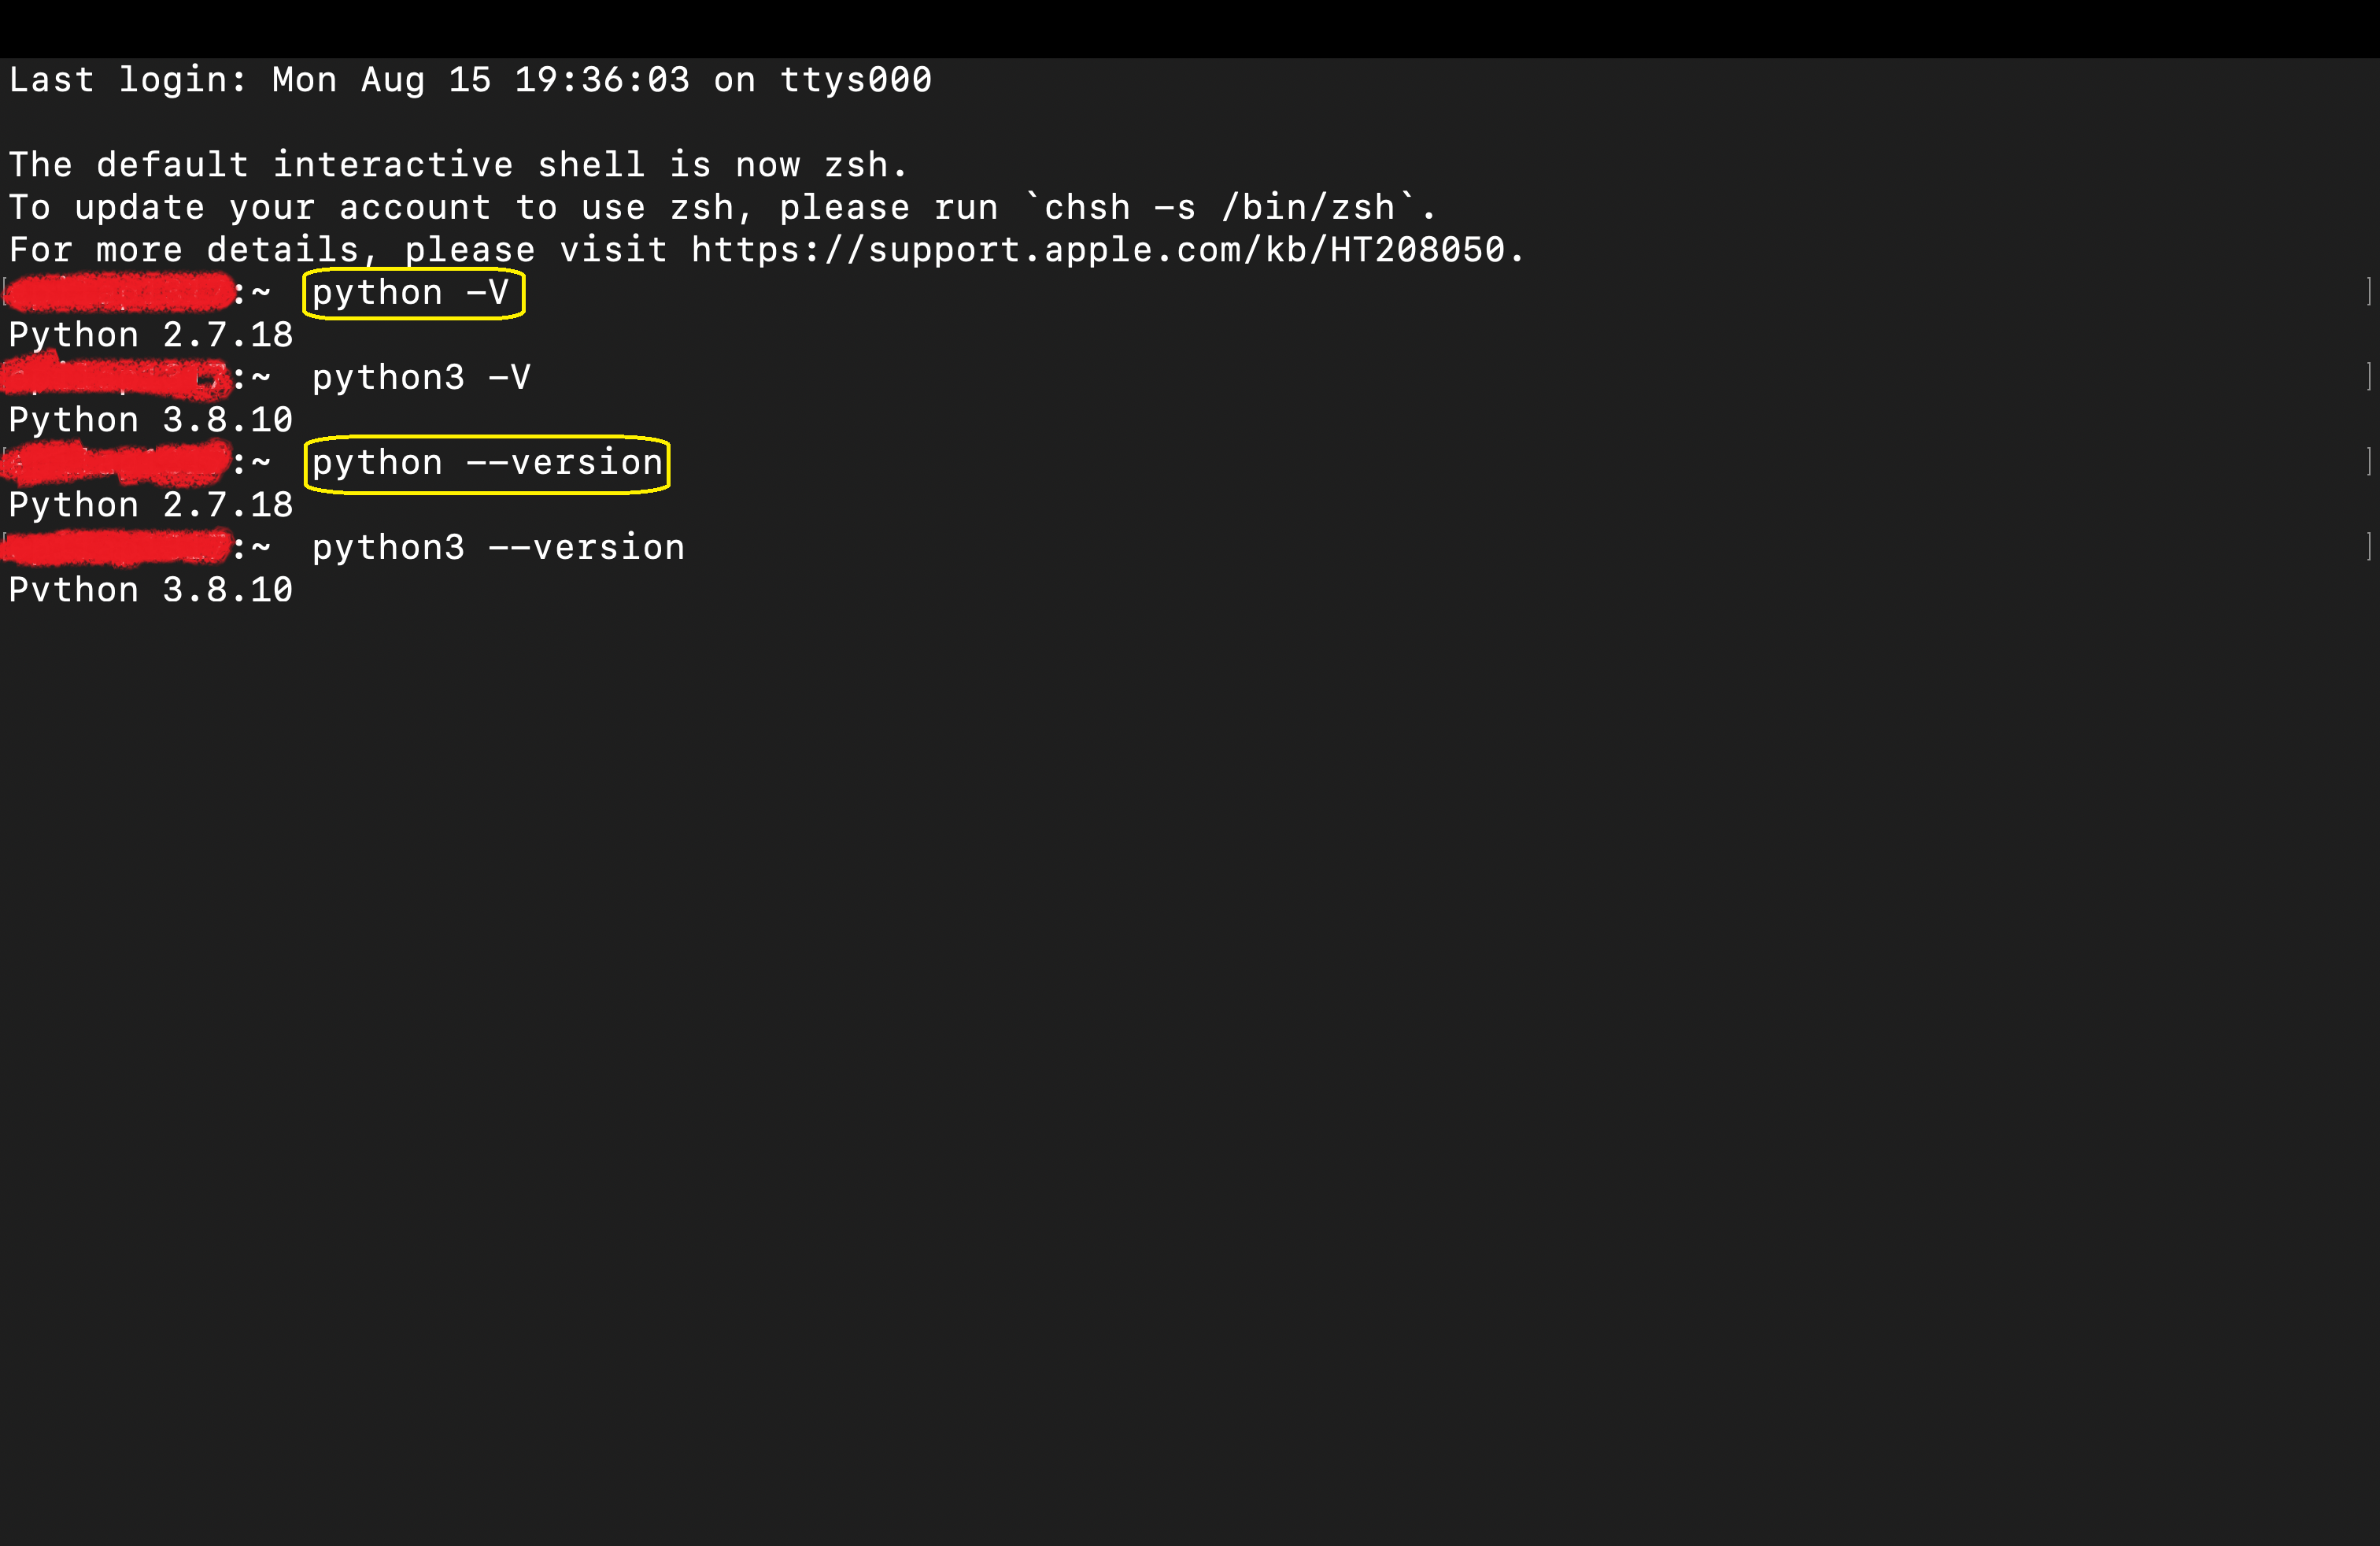
After pressing ⏎ (Return), the version number will appear on the following line after the word “Python” (e.g., 2.7.18).
Upgrade Python to the latest version
Python version 2 (2.x) is installed by default on macOS. But Python version 3 (3.x) is recommended as of now.
Python comes pre-installed on macOS, but the built-in version is specific to the version of macOS you’re currently running. Unfortunately, this means it’s only updated when you receive an OS update from Apple. So, if you choose to use the version built into macOS, you may be running a version that’s older than the current one.
Install Python — Official Installation
Installing Python from the official source is the most preferred installation method on macOS.
Step1: Download the Official Installer
The Python developer makes regular releases in standard .PKG format. Follow the following steps to install the standard Python distribution on your Mac:
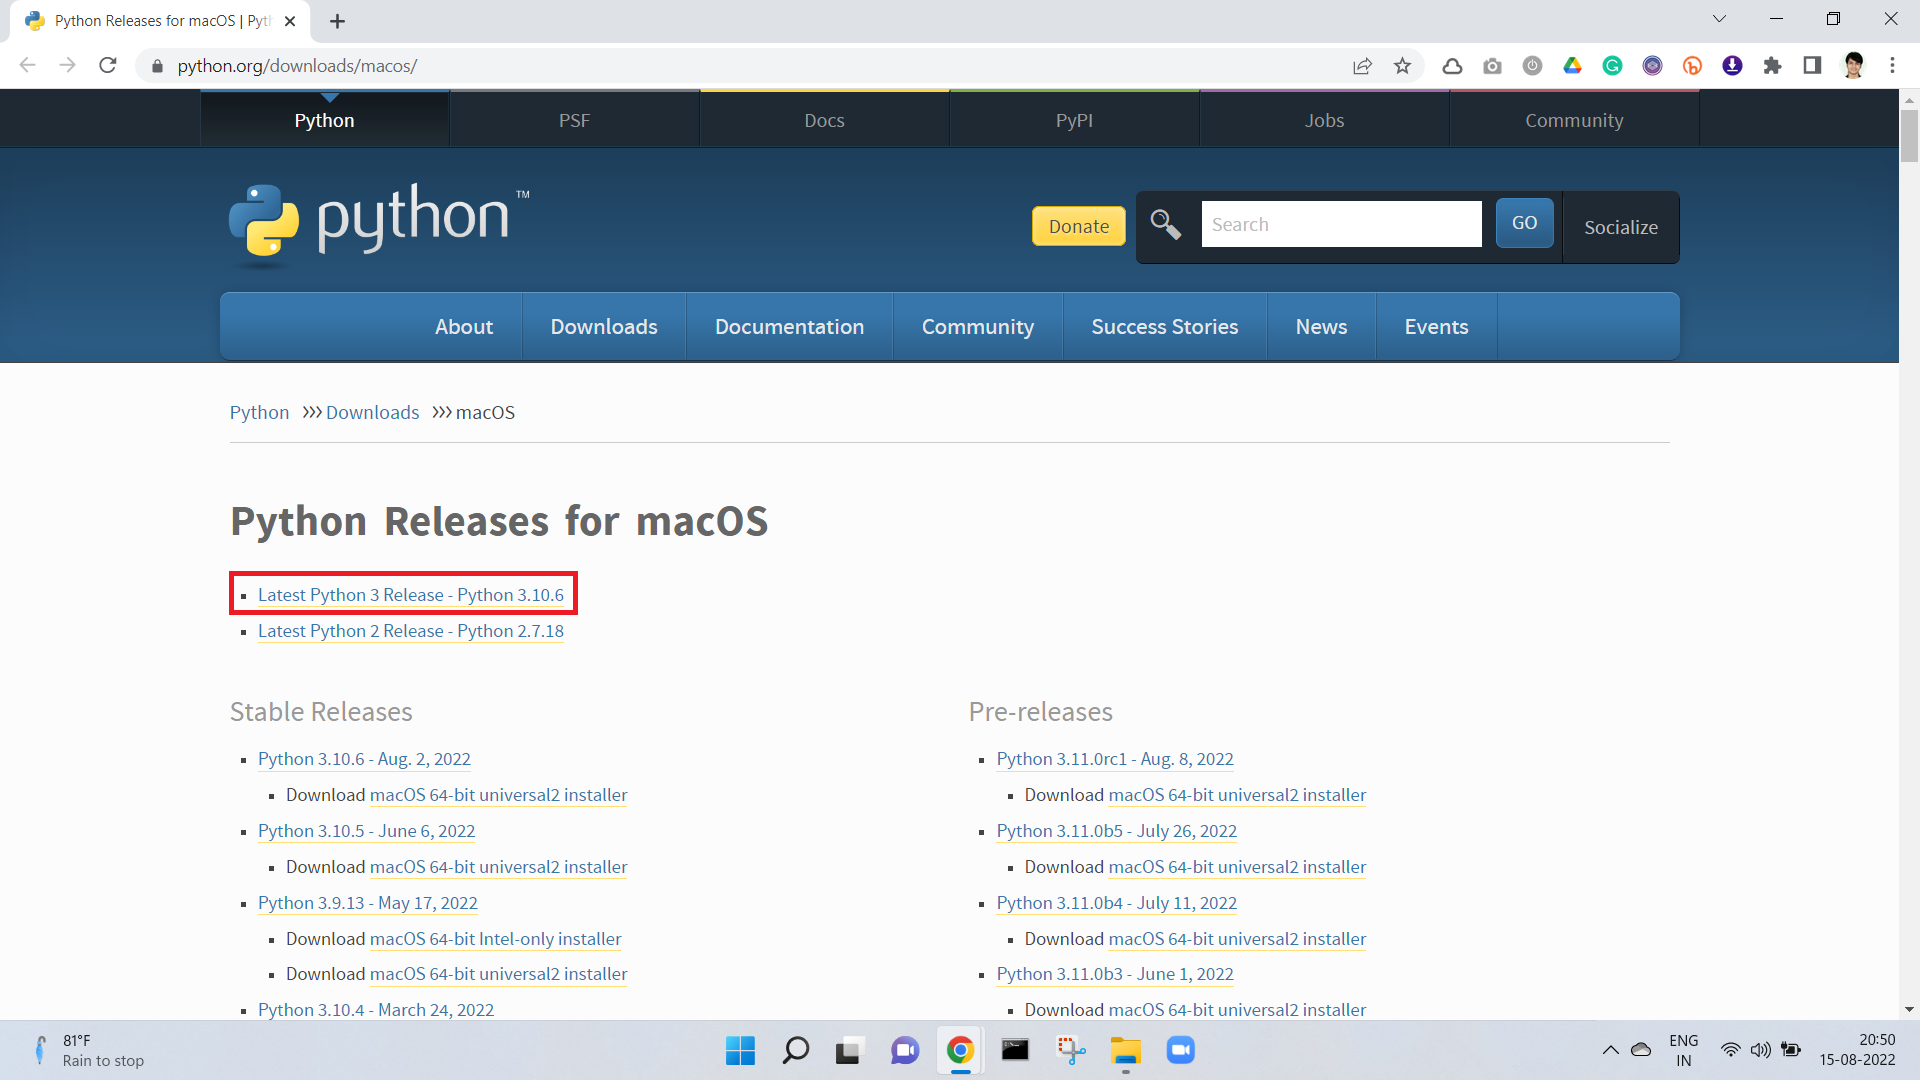
- Go to python.org (Downloads > MacOS) OR Directly go to MacOS Download link and download the latest 64-bit installation file.
Unless you’re on an older machine and have to use a previous version of macOS for some reason.
- Click on the “Latest Python 3 Release – Python 3.x.x” under “Python Releases for macOS”. The latest available version of Python as of this writing is v3.10.6.
- Now you’ll be able to see the version-specific information. Scroll down to the end of the page with all available installation files.

- Select the file that in the description says macOS under the operating system. When the installer is done downloading, proceed to the next step.
Step2: Run the Installer (.PKG)
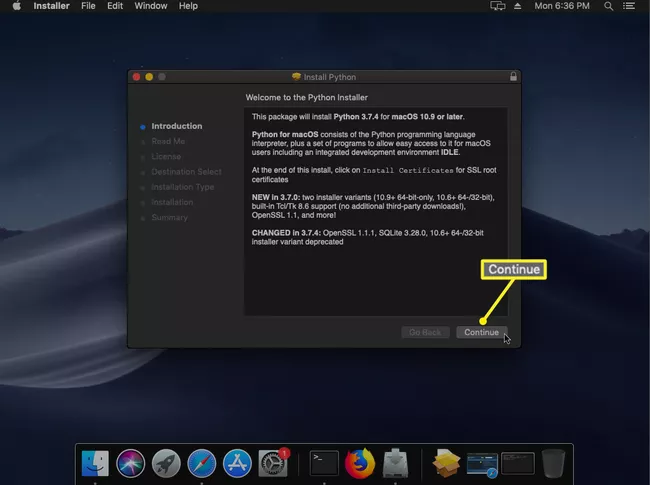
- Read and understand the introduction, and press continue to move to the next steps.
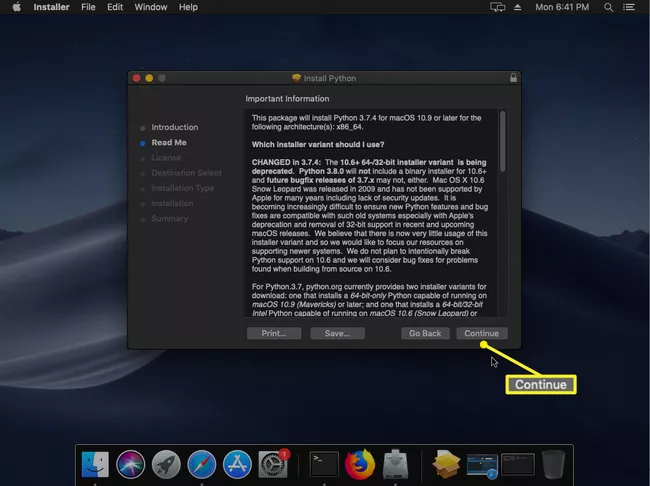
- Understand the important information and continue to the next step
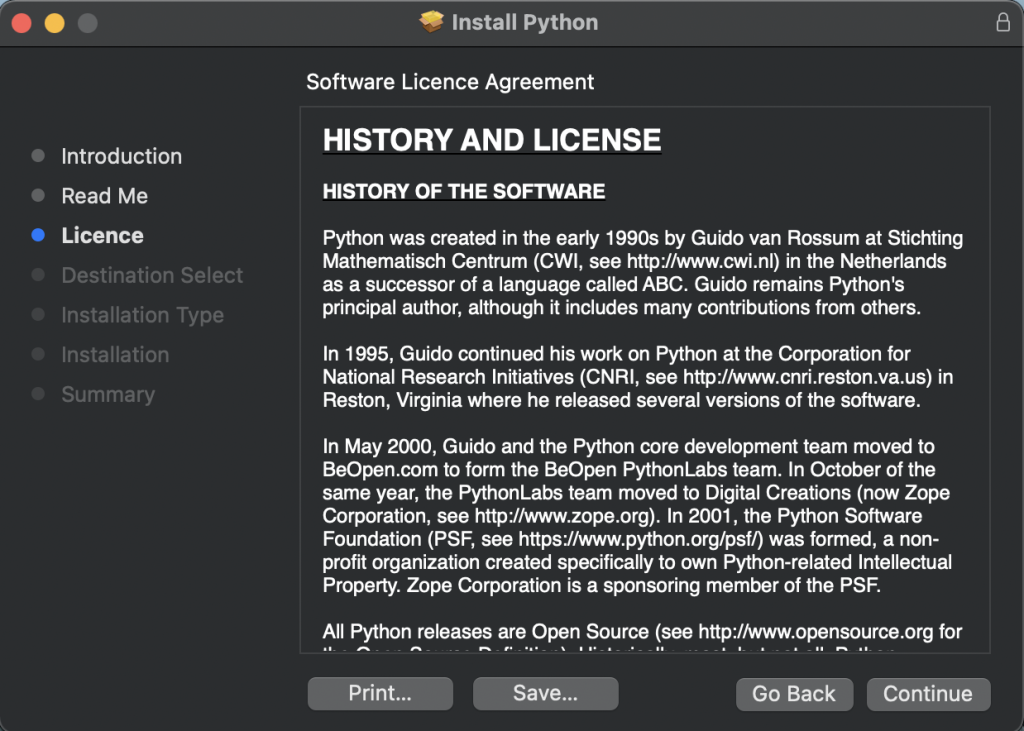
- Understand the license details and continue
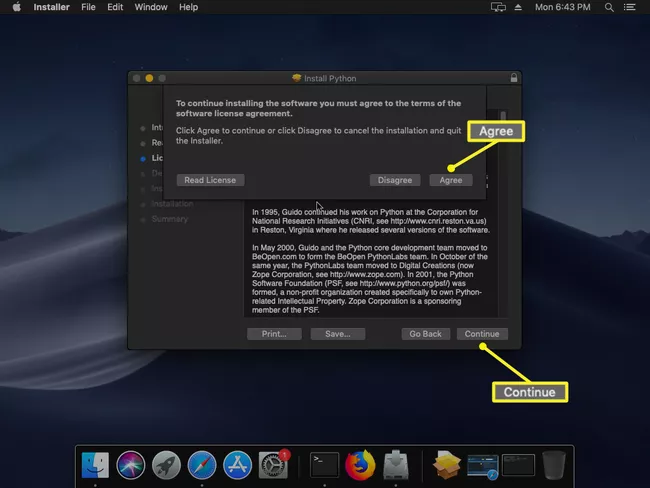
- Select or Check “agree” if you agree with the agreement and conditions.
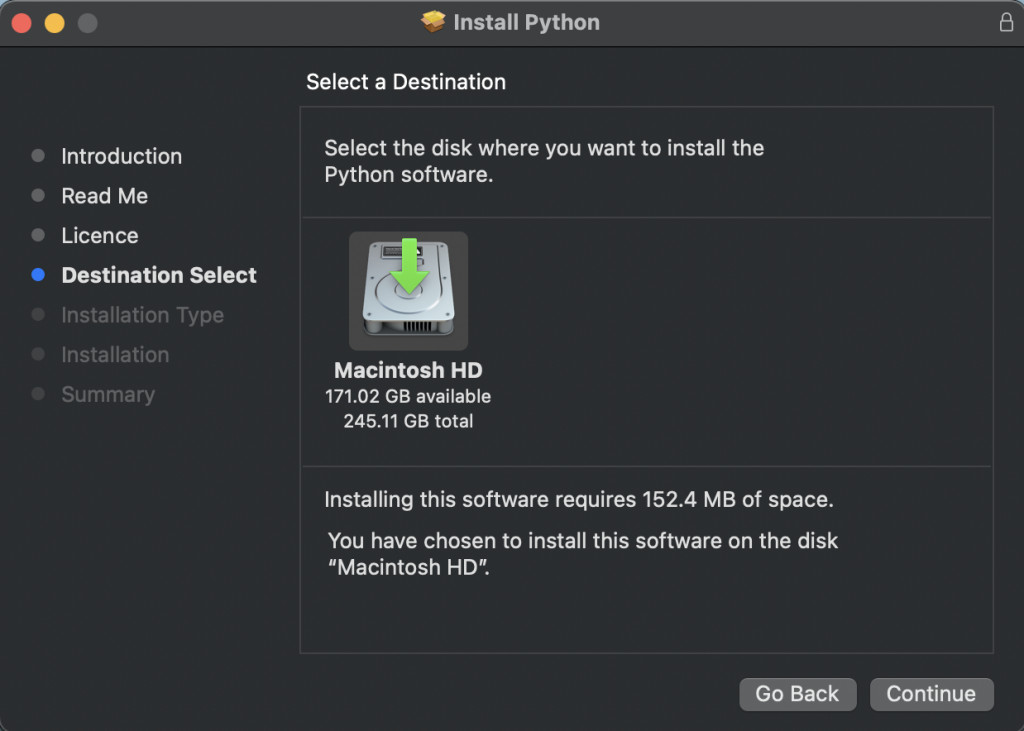
- Select the destination folder where you would like to install your files. The recommendation is not to change the default location that this installer has selected.
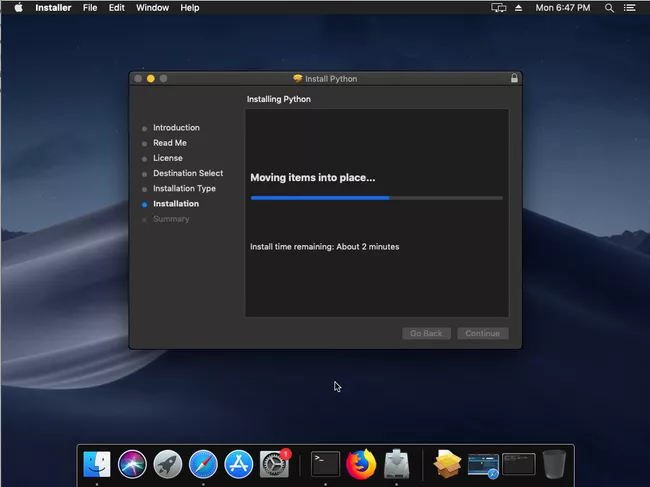
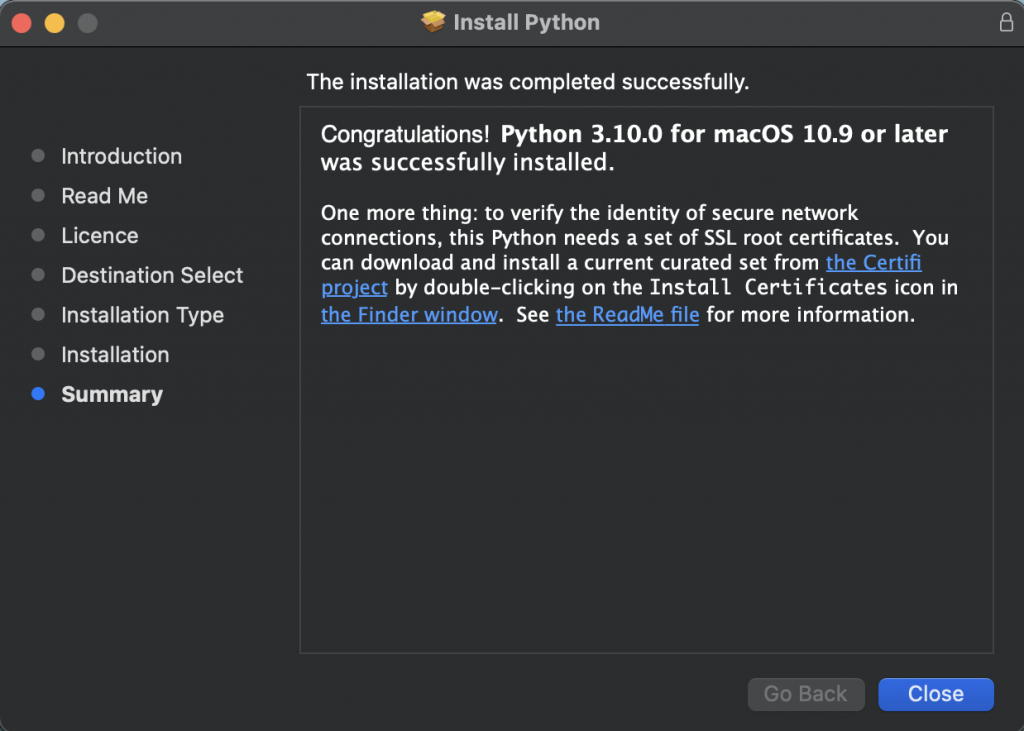
- The installation will start, and you’ll get this message once done. You can close this window as Python 3.x has been installed on your machine.
- Once the installation is finished, the app’s folder opens in Finder.
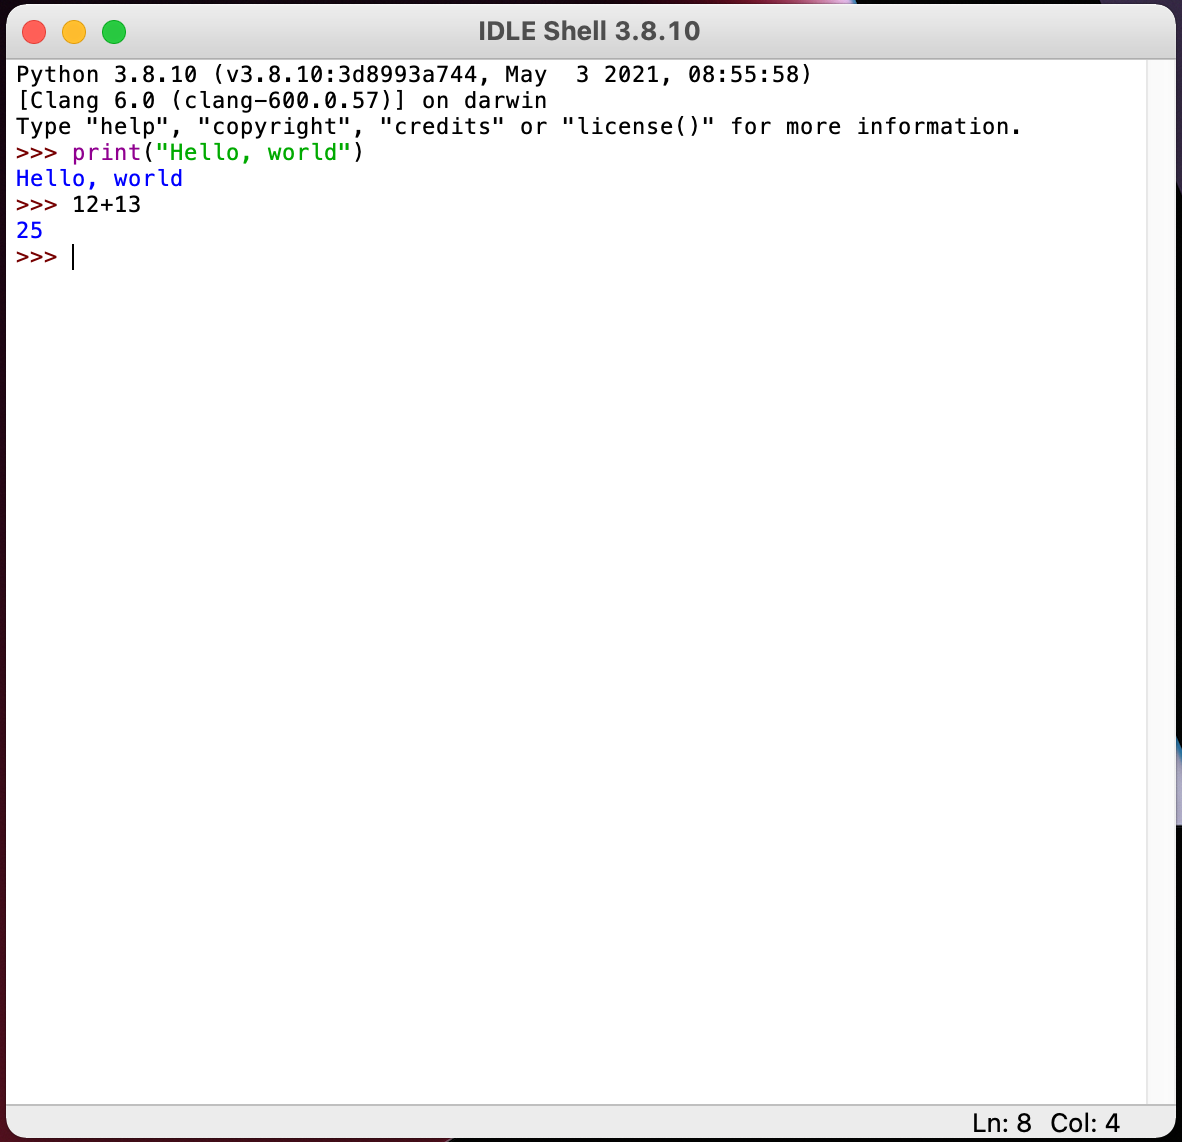
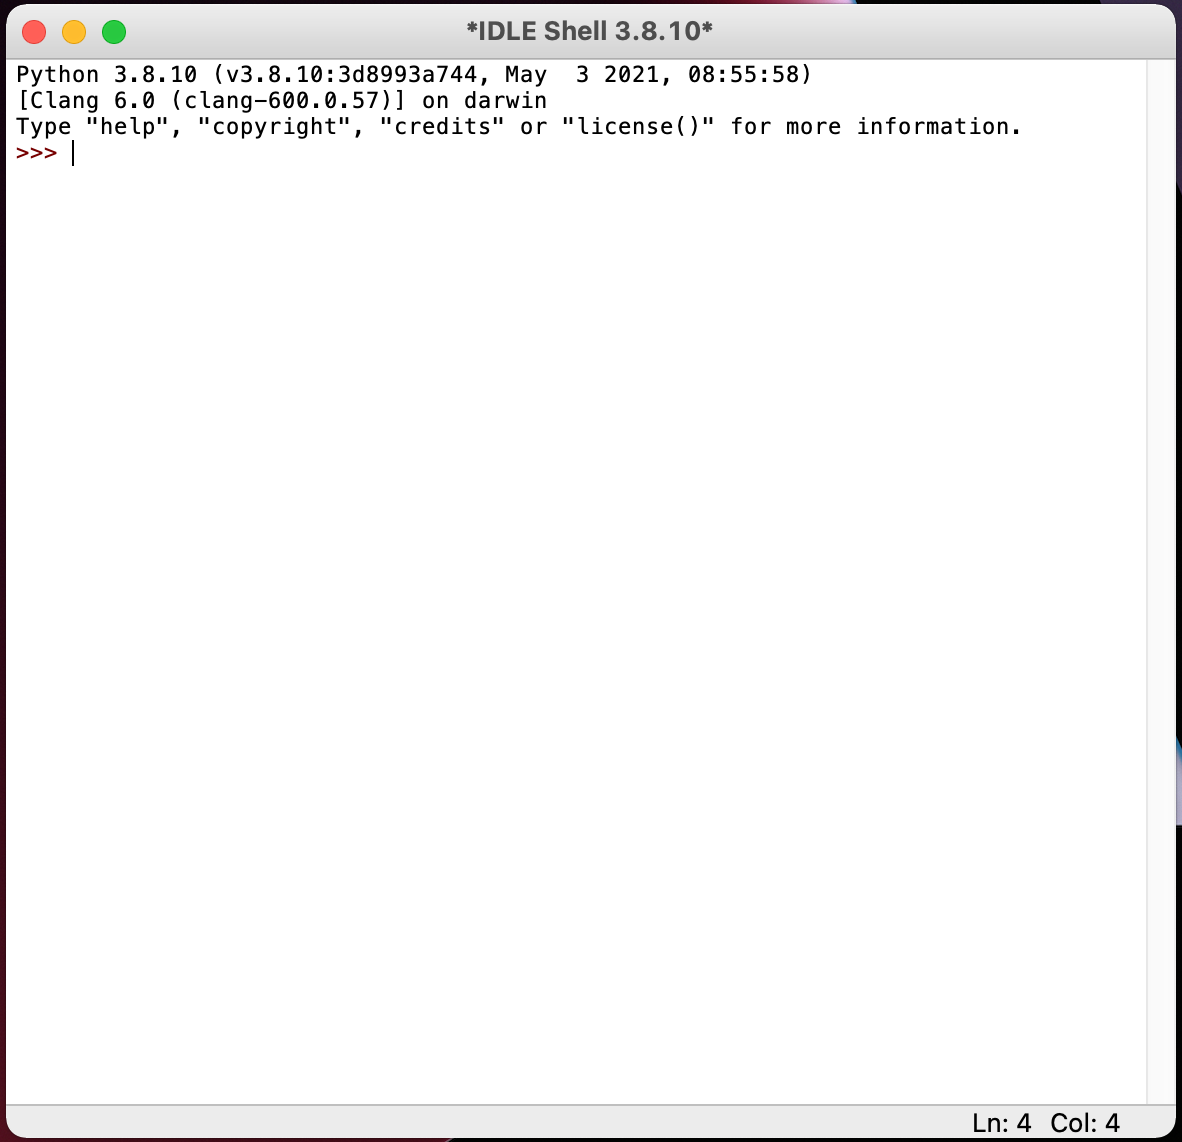
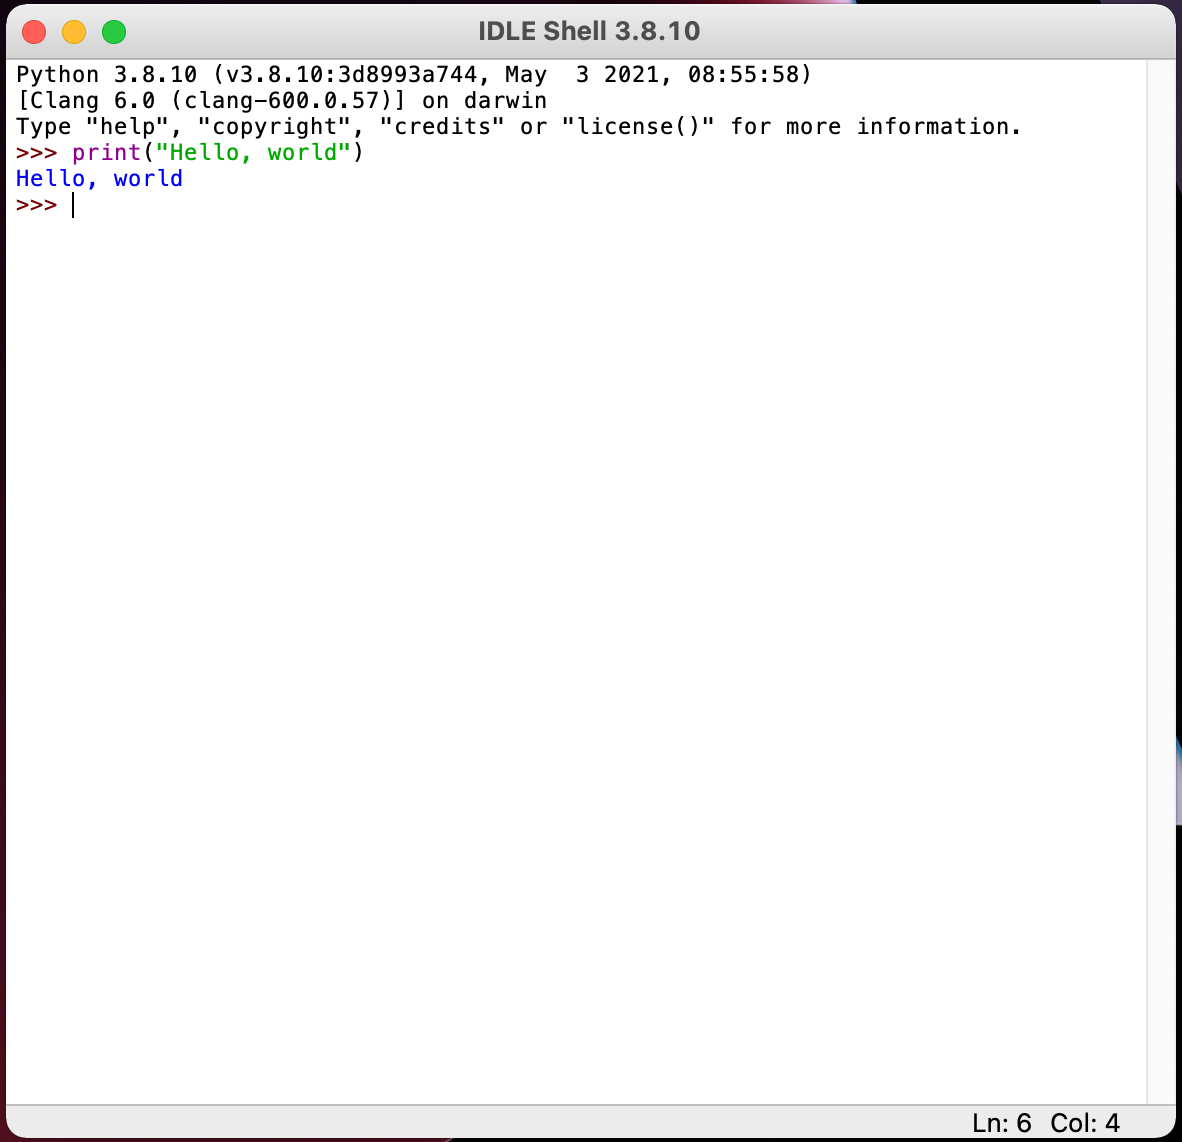
Let’s verify the latest version of Python in IDLE is installed correctly. Double-click IDLE, the integrated development environment shipped with Python, to do that. If everything is installed properly and works correctly, IDLE shows the Python shell as follows:

Let’s write a simple Python code and run it in IDLE. Type the following statement, and hit the return key.
print(“Hello, World!”)
Or let’s do a basic calculation in Python as follows: