How to Download, Install and Configure MySQL Workbench on Windows Step by Step

MySQL Workbench is a free(open-source) and integrated visual tool for database design i.e architects, development, and DB Administration (User administration, Server configuration, recovery(backup), and much more). It is available on all OS i.e Windows, Linux, and Mac OS X.
To install MySQL on Windows, the MySQL installer is the easiest way as it provides you with an easy-to-use wizard which comes with components like MySQL Server, All Available Connectors, MySQL Workbench, MySQL Notifier, Tools for Excel and Microsoft Visual Studio, MySQL Sample Data Models, Databases, and Documentation.
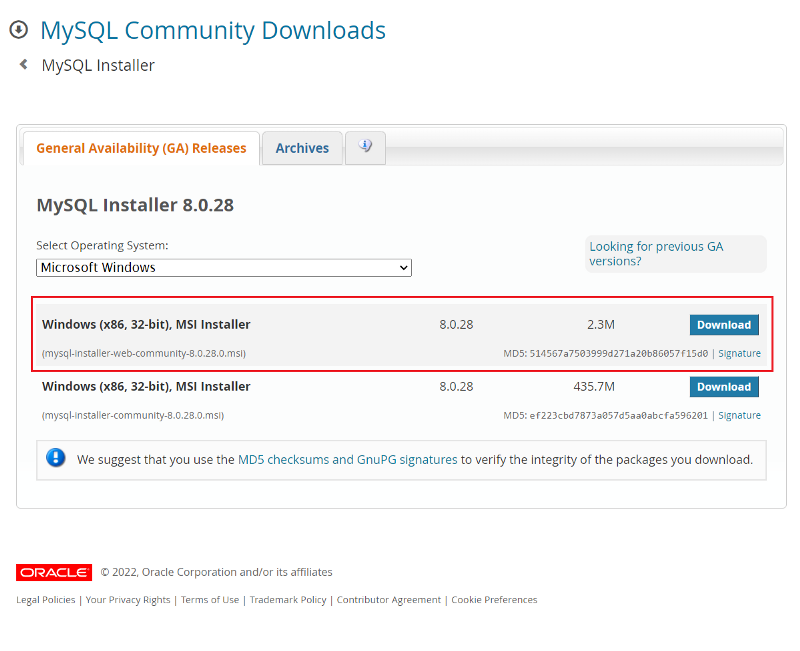
Download MySQL
Step 1:
Directly download the latest Mysql installer from the download page.
mysql-installer-web-community-<version>.exe— Download the online installation version if you are connecting to the internet while installing MySQL.mysql-installer-community-<version>.exe— Download this file if you want to install MySQL offline.
We will download the web community edition for this tutorial.
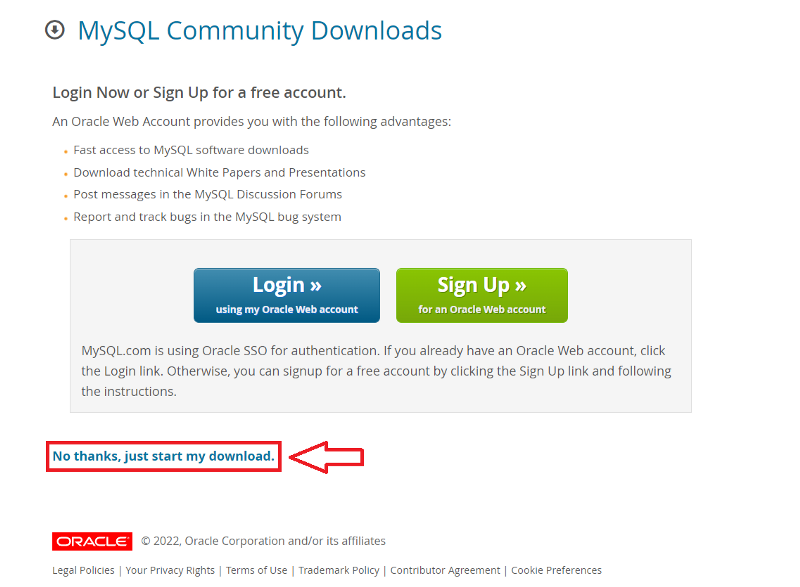
Log in or skip to download the file as shown below.
Install MySQL
Step 2:
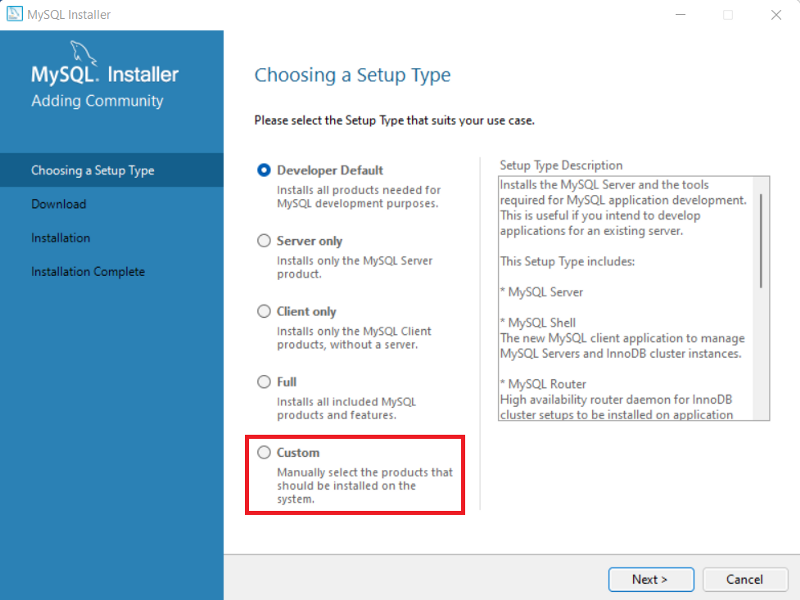
Double click on the downloaded MySQL installer file. Click on Yes when the installer window pops up. Post that, it asks you to choose “Setup Type”. Selecting one setup type is for initial installation only and does not limit your ability to install or update MySQL products for Windows later:
Developer Default:
Installs the MySQL Server and the tools required for MySQL application development. This is useful if you intend to develop applications for an existing server.
- MySQL Server — The most popular Open Source SQL database management system.
- MySQL Shell — The new MySQL client application to manage MySQL Servers and InnoDB cluster instances.
- MySQL Router — High availability router daemon for InnoDB cluster setups to be installed on application nodes.
- MySQL Workbench — The GUI application to develop for and manage the server.
- MySQL for Visual Studio — To work with the MySQL Server from VS.
- MySQL Connectors — Connector/Net, Java, C/C++, OBDC, and others.
- Examples and tutorials — To help you get started with your development.
Server Only:
Installs only the MySQL Server. This type should be used where you want to deploy a MySQL Server, but will not be developing MySQL applications.
Client Only:
Installs the tools required for MySQL application development, but does not include the MySQL Server itself. This is useful if you intend to develop applications for an existing server.
Full:
Installs all of the products available in this catalog including MySQL Server, MySQL Shell, MySQL Router, MySQL Workbench, MySQL Connectors, documentation, samples and examples, and much more.
Custom:
Allows you to select exactly which products you would like to install. This also allows picking other server versions and architectures (depending on your OS).
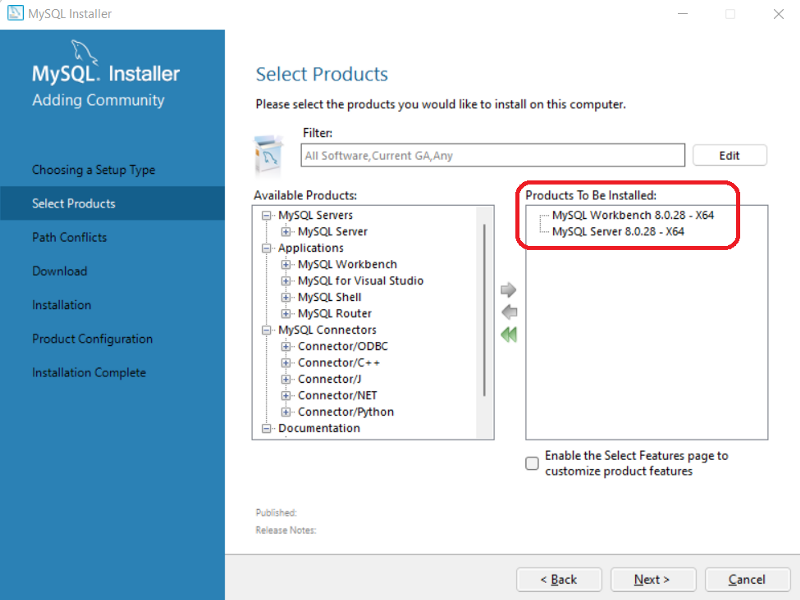
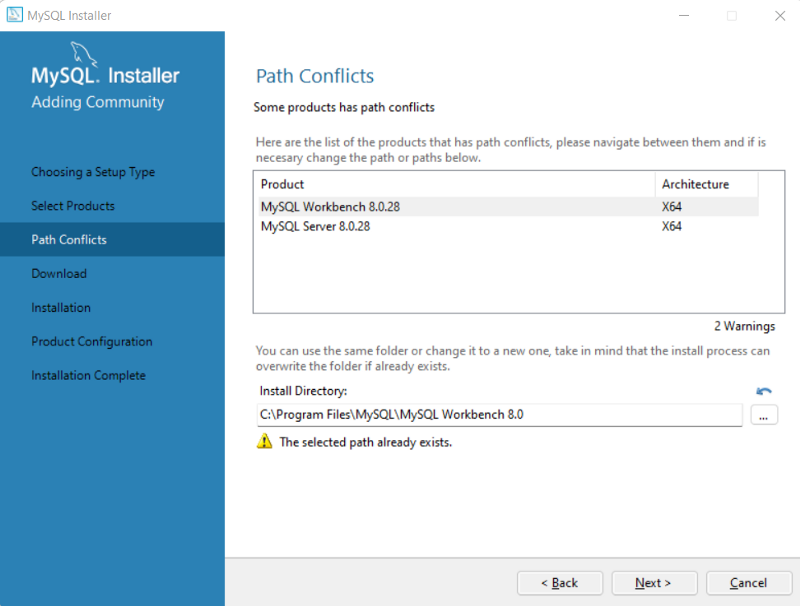
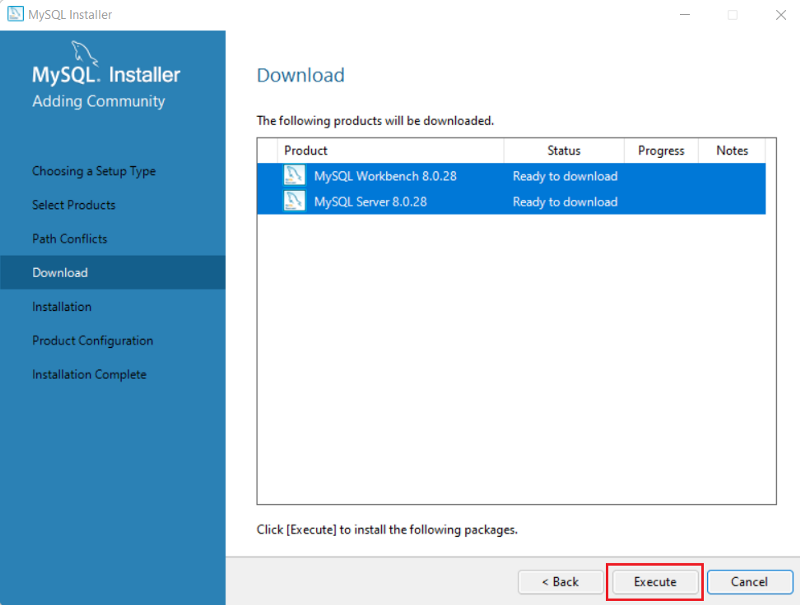
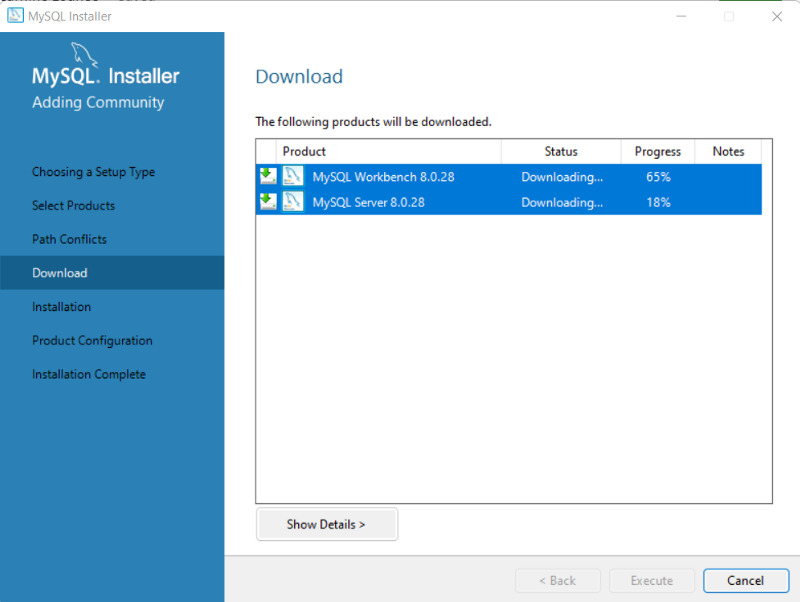
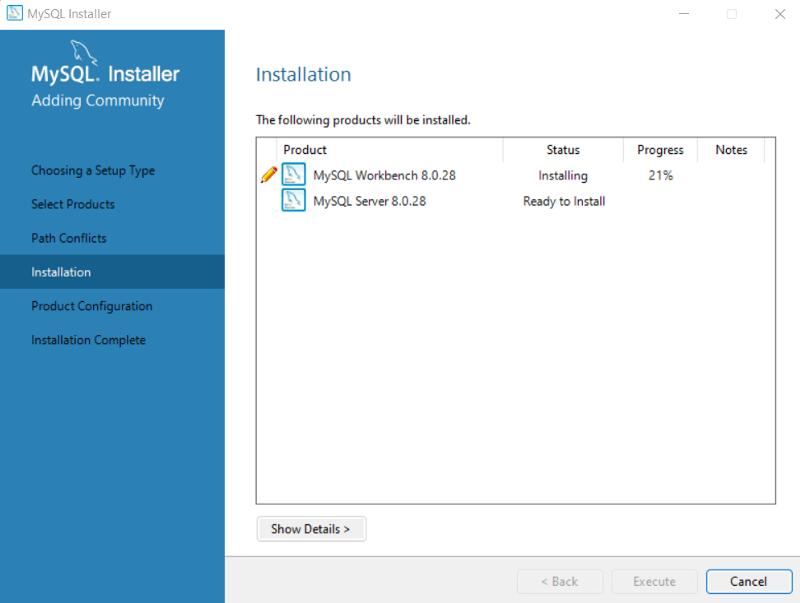
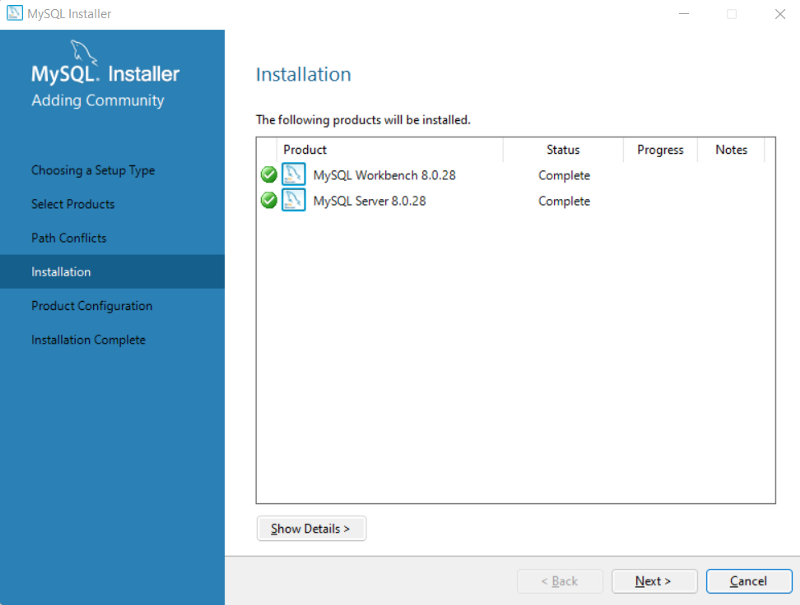
Step 3:
Select MySQL workbench and MySQL Server. Use an arrow to add or remove components.

Setup MySQL
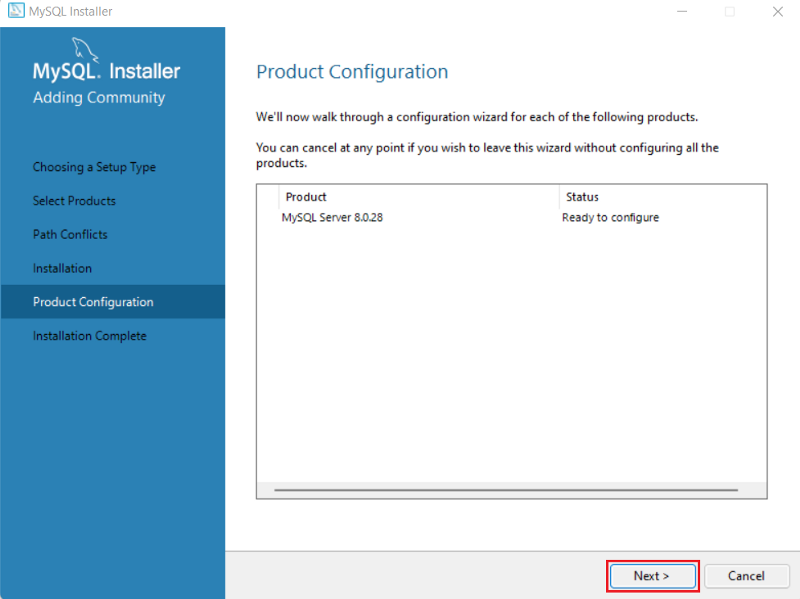
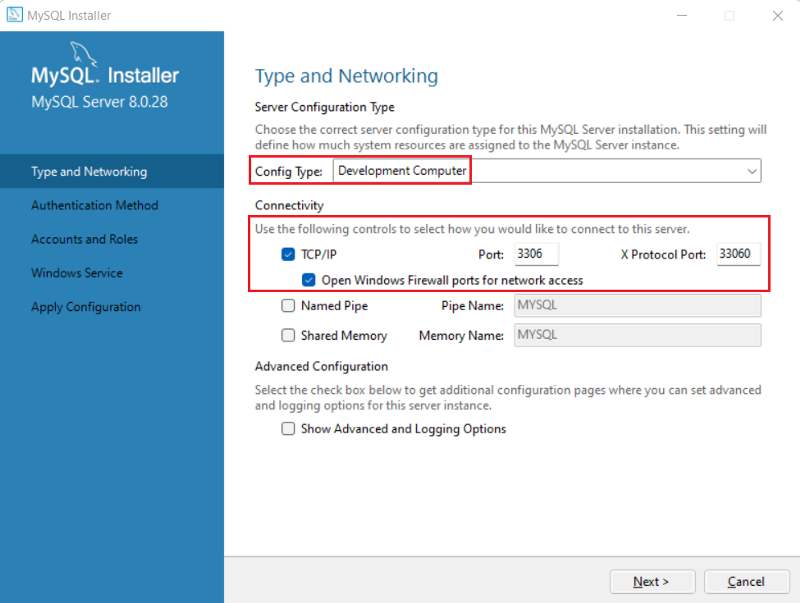
Step 4:
Network Connectivity:
In this section, we can control how clients can connect to MySQL databases. We will use default settings and proceed further.
Configure MySQL
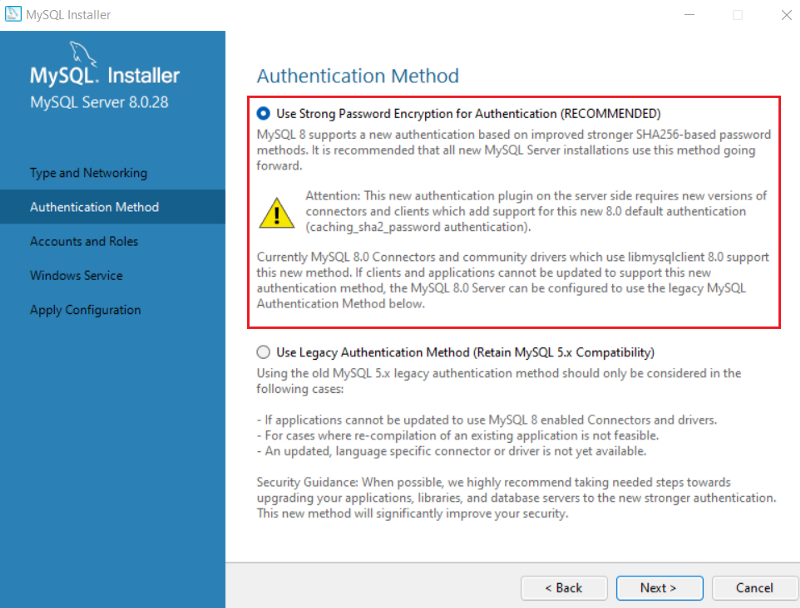
Step 5:
Configure Password:
Using a password to keep your database secure is recommended. In MySQL, passwords are based on SHA256 encryption.
Note: If you are using Strong Password Encryption for Authentication, then make sure that all the connectors must be updated to the latest version.
Step 6:
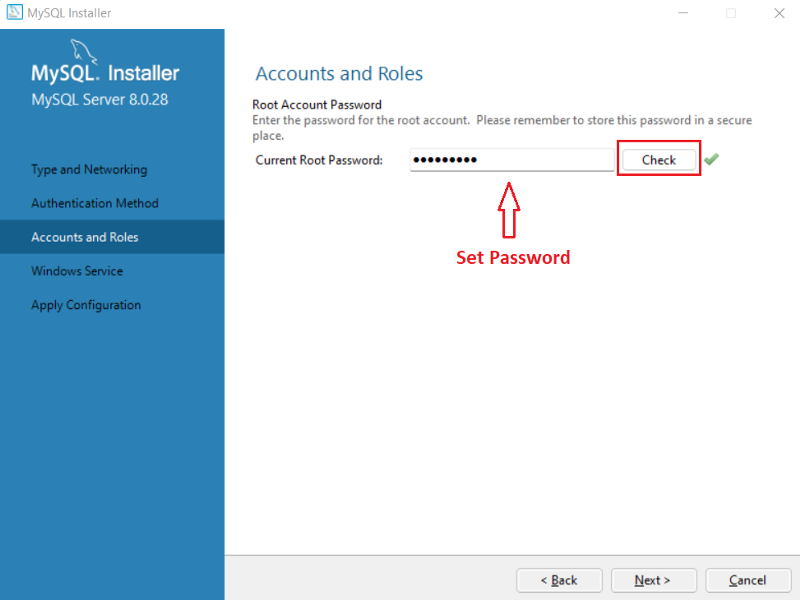
During the Accounts and Roles step, we need to specify the MySQL root account password. Default sysadmin account i.e MySQL Root account must be disabled.
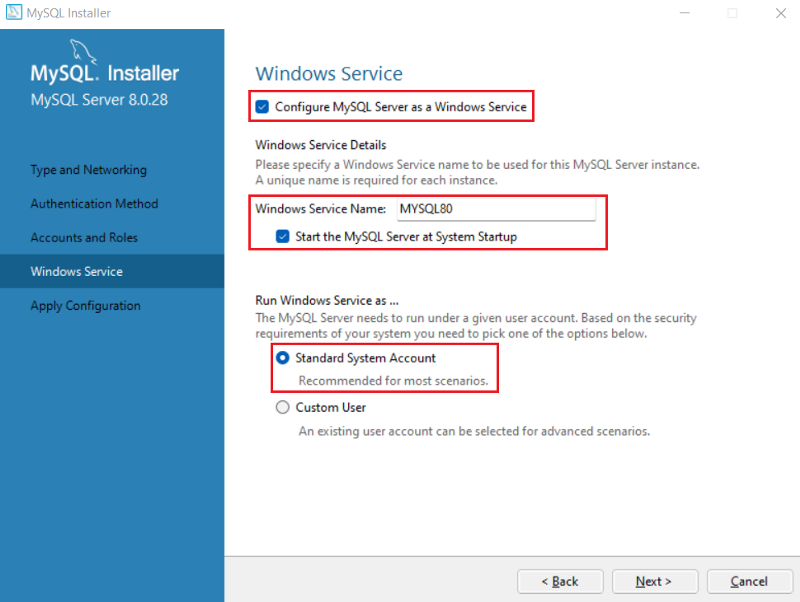
During the Windows Service step, configure the MySQL server to run as a windows service. Give the desired name and configure it to auto-start the service when the system reboots. Also, choose Standard System Account” as recommended.
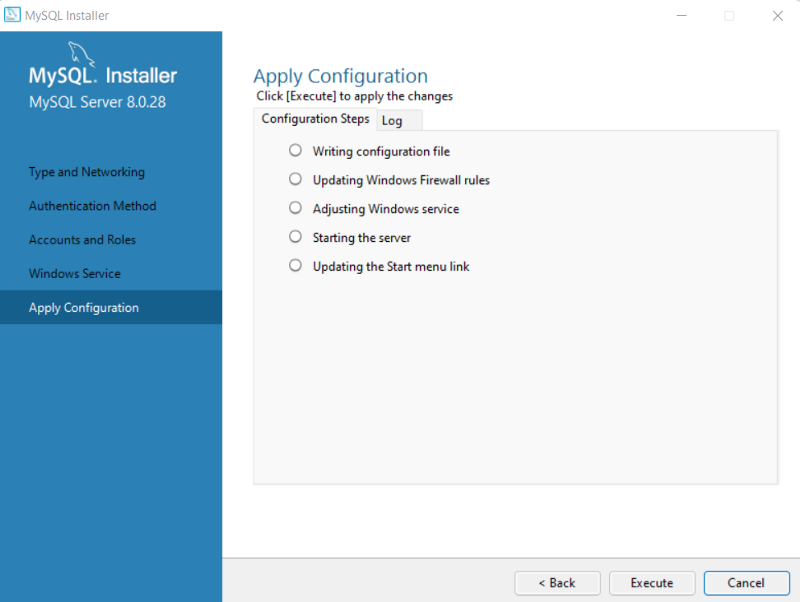
During Apply Configuration step, you can see the list of configuration steps. Click on Execute, Once all the configuration steps are verified.
Step 7:
Click on “Finish” to close the installer once the installation completes successfully.
Connect to MySQL Server
Step 8:
Once the installation is completed successfully, let us connect to the server and execute the first MySQL Query. Open MySQL workbench from Windows Search. MySQL Workbench is the tool to query the DB and create DB objects.

On the MySQL workbench welcome screen, you can see the list of MySQL connections. As we have not configured multiple database connections; hence we only see “Local instance MySQL8O.” Click on it to open the new query editor window.

Step 9:
You can create your own DB connection by clicking on the + sign next to MySQL Connections.

It will ask you to name the database i.e connection. In our case, we have given sample_database. Click on Ok to create the connection.
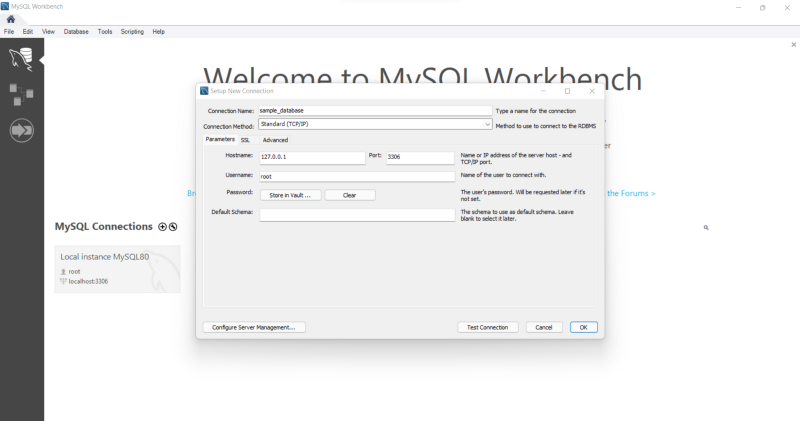
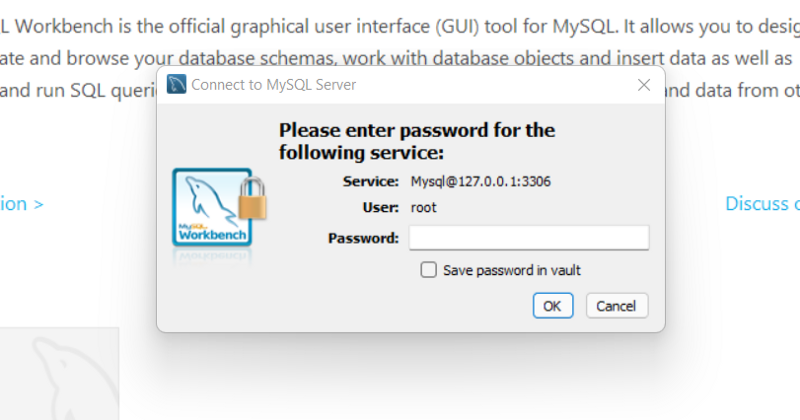
Click on sample_database to connect with it and enter the password which we configured during step 6. Additionally, click on “Save password in vault” to save the password during the connection.
Create Database and Tables
Step 10:
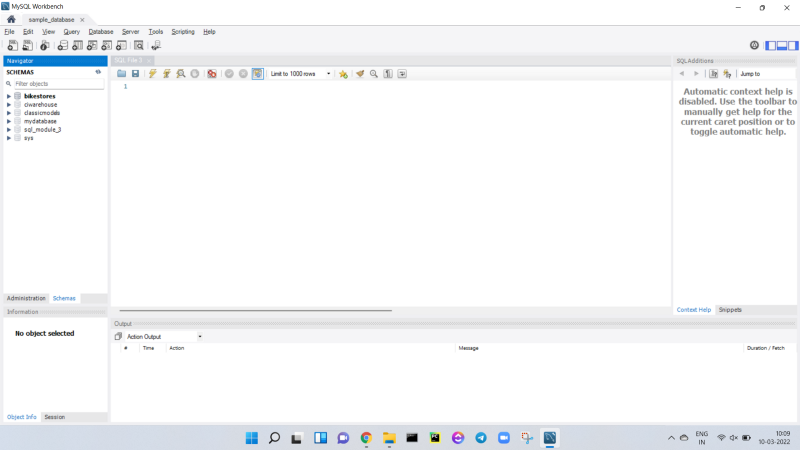
Once you connect to any of the database servers. You will see the following window.
To make sure MySQL workbench is successfully installed follow the steps mentioned below to create a database and table and fetch data by writing SQL query.
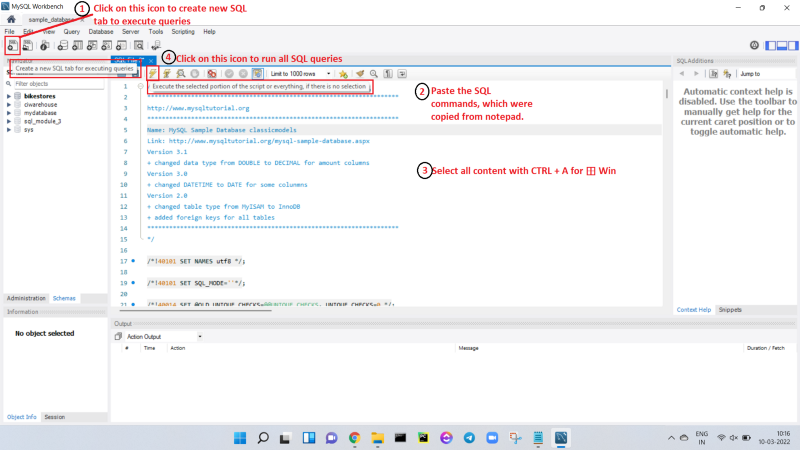
- Download the MySQL Sample Database
- Unzip and open the file in Notepad.
- Copy the content and paste it into the MySQL workbench editor.
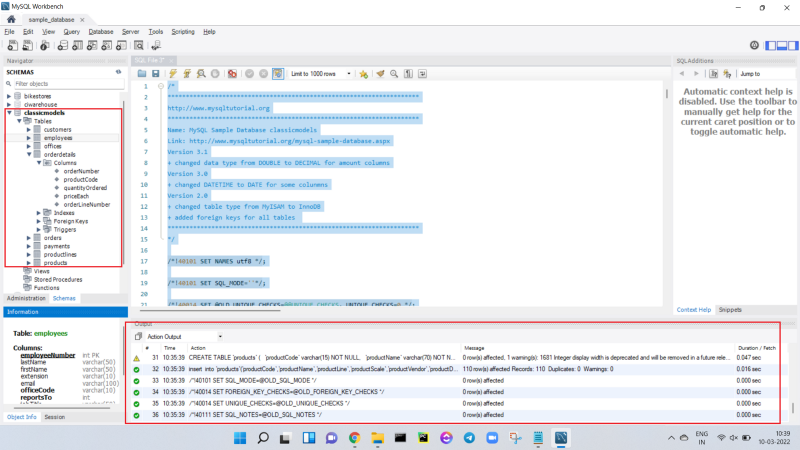
- Create a new SQL tab(if not already created), Paste the file content, Select all commands with CTRL + A, and run [As shown in below picture]
Step 11:
If all SQL commands run successfully then you will see the following highlighted message and a database with tables will be created as we can see on the left “Schemas” panel.
Step 12:
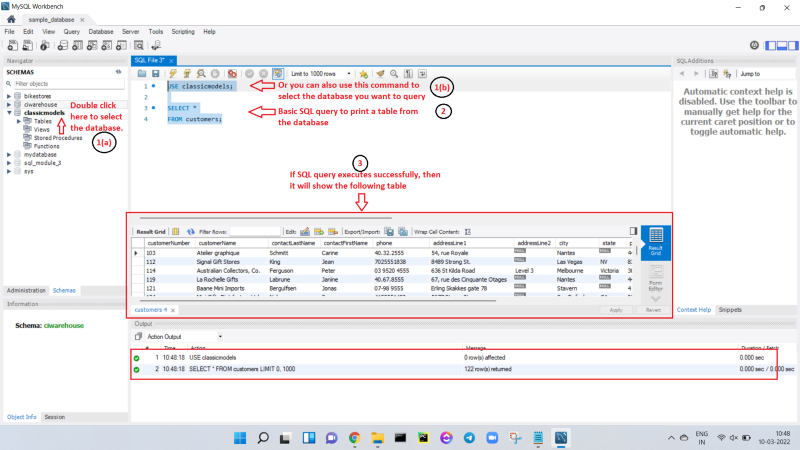
Now test if you can query the required database by following the below steps.
- Double click on the database which wants to be queried. Once selected it will be shown in bold letters. OR You can use
USE <database-name> ;the command to select the database during run time. - Write a simple SQL query
SELECT * FROM <table-name> ;to access the table from the database. - If it executes successfully then it will output a table as shown in the picture.
Congratulations🥳 if you have reached this point without any hiccups. If you face any challenges then don’t forget to comment💬
If you like what we do and want to know more about our community 👥 then please consider sharing, following, and joining it. It is completely FREE.
Also, don’t forget to show your love ❤️ by clapping 👏 for this article and let us know your views 💬 in the comment.
Join here: https://blogs.colearninglounge.com/join-us