How to install Rasa/Rasa X in Windows successfully with detailed instructions?

What is Rasa?
Rasa is an open-source machine learning framework to automate text-and voice-based conversations.
In this blog, we are going to share step-by-step instructions to install Rasa/Rasa X in the Windows 10 OS.
Step-by-step Installation Guide
Step 1: Install Python
Rasa is a Python-based bot framework. It works with the Python version >= 3.6, < 3.9
Check the Python version dependency here.
If Python is already installed in your system then use the `python –version` command to check the Python version.

Follow this blog to install Python in your system,
Download, Setup & Install Python on Windows[2021]
Step 2: Create Virtual Environment [Recommended]
Follow this blog to know Why Virtual Environment is recommended? and How to create the Virtual Environment step-by-step?
Create Virtual Environment Python in Windows[2021]
Step 3: Make sure Microsoft Visual C++ 14 Compiler is installed
How to check?
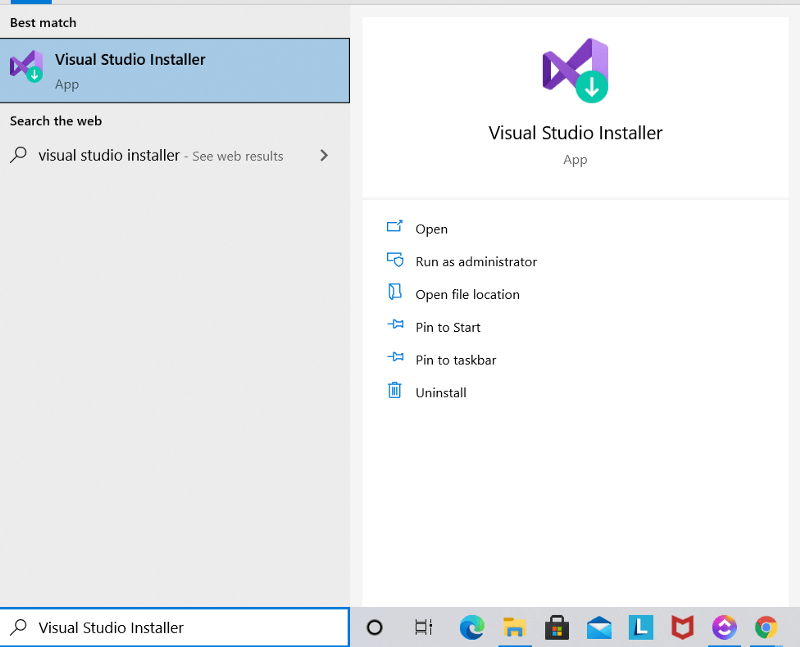
Tip: Here’s how you can cross-check:
- Press the ⊞ Win key.
- Type
Visual Studio Installer. - Check if
Visual Studio Build Toolsis installed
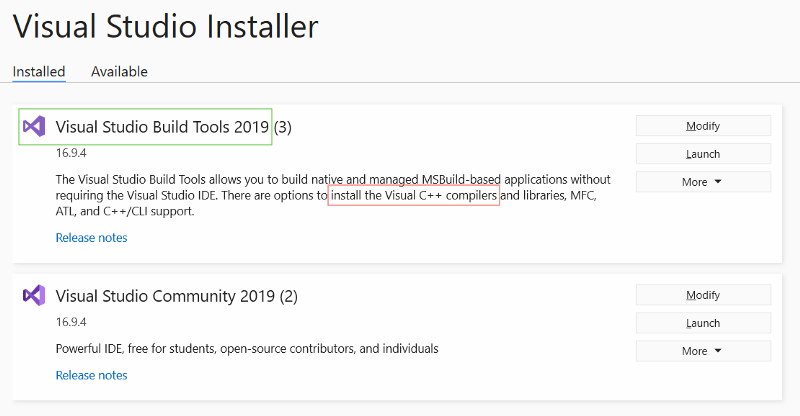
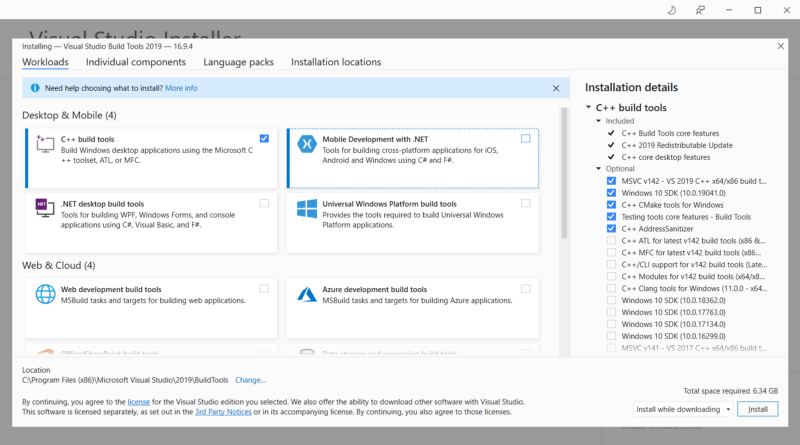
If not,
Then download Microsoft Visual C++ 14 Compiler and install the compiler as shown below.
Step 4: Install Rasa X
Open the Anaconda prompt and activate the Virtual Environment you created in Step 2 or if already created. Run the following command to install the latest stable version of Rasa X.
pip3 install rasa-x --extra-index-url https://pypi.rasa.com/simple --use-deprecated=legacy-resolver
Sometimes mentioned instruction might not work as the Rasa library keeps getting updated. In that case please post your issue here.
Also, You might see some version issue. Please resolve them by manually installing the package using pip3.
We found a few version issues and resolved them by running the following commands, Likewise resolve the issues you face.
pip install PyJWT==2.0.0 pip install aiohttp==3.6.3 pip install multidict==4.7.6 pip install pytz==2020.5 pip install SQLAlchemy==1.3.19
Step 5: Test the setup & Start making powerful Chatbots
You are now ready to go! So what’s next? You can test the setup and create a new project by running the following commands:
## To check if rasa command is working on CLI $ rasa -h ## Just to check if rasa is properly installed $ rasa init --no-prompt ## Just to check if rasa x is properly installed $ rasa x
HAPPY BOT BUILDING !!!
If you like what we do and want to know more about our community 👥 then please consider sharing, following, and joining it. It is completely FREE.
Also, don’t forget to show your love ❤️ by clapping 👏 for this article and let us know your views 💬 in the comment.
Join here: https://blogs.colearninglounge.com/join-us